A camera that looks great on day one but drops offline in the first hard rain is usually not a camera problem. It is a wiring problem. Home security camera wiring is the part of the project that decides whether your system stays reliable, records clearly, and gives you footage when you actually need it.
For homeowners, that means fewer blind spots and fewer service calls. For home offices, rental properties, and larger residences, it also means a cleaner install, stronger network performance, and less guesswork when you expand later. The right cable path, termination, and camera connection method matter just as much as the camera brand on the box.
Why home security camera wiring matters more than most people expect
Most people shop cameras by resolution, night vision, or app features. Those are valid considerations, but none of them overcome poor cabling. If the cable run is exposed to weather, pinched at an entry point, stretched too far, or connected through weak network hardware, the system becomes unreliable fast.
Good wiring supports stable video transmission, consistent power delivery where needed, and cleaner integration with the rest of the network. It also makes future changes easier. If you later add a doorbell camera, more exterior coverage, or a network video recorder, a properly planned wiring layout saves time and avoids patchwork fixes.
This is especially true in larger homes or properties with detached garages, long driveways, or outdoor living areas. Those layouts often require more than just mounting a camera and connecting it to Wi-Fi. They need a cabling plan that accounts for distance, environmental exposure, and network capacity.
Wired vs. wireless cameras is not a simple choice
Many homeowners start by asking whether they should go wireless and avoid wiring altogether. In practice, that decision depends on the property, the number of cameras, and how much reliability you expect.
Wireless cameras can work well in smaller spaces with strong signal coverage and only a few devices. They are often faster to deploy, but they still are not truly wire-free in many cases. Some need local power nearby, and all of them depend on stable Wi-Fi. If your signal weakens at the edge of the home or gets crowded by streaming devices, video quality and uptime can suffer.
A wired camera system usually offers more consistent performance. It reduces dependence on wireless coverage, supports higher reliability, and tends to be the better fit for full perimeter coverage or continuous recording. When clients want fewer connection drops and a more permanent setup, wired cameras are usually the better long-term answer.
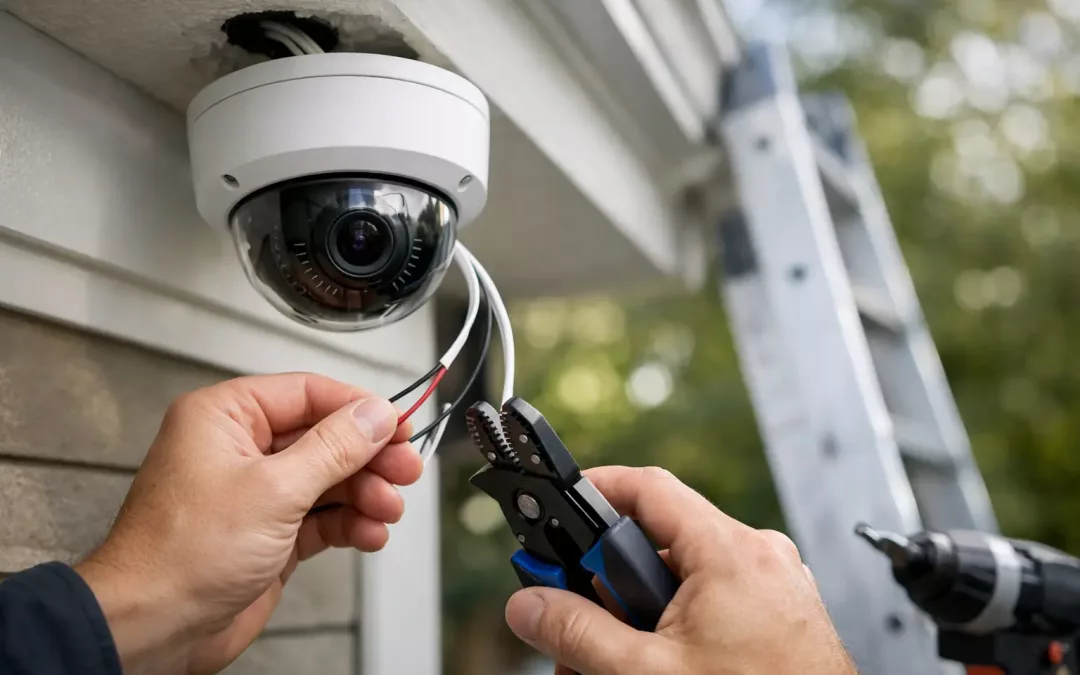
The most common types of home security camera wiring
For most modern installations, network cabling is the preferred option. Cat5e and Cat6 are the most common choices for IP camera systems. Both can support data to the camera, and in many setups they also support Power over Ethernet, which lets one cable handle both connectivity and power.
Cat5e is often sufficient for many residential camera runs, especially in standard home layouts. Cat6 gives you more headroom and is a strong choice when you want better performance margins, cleaner support for newer hardware, or room to expand the network later. If the camera system is part of a broader structured cabling project, Cat6 is often the practical move.
There are also older camera systems that use coaxial cable. Those setups still exist, and in some retrofit situations they can be reused, but they are generally less flexible than modern IP-based systems. If you are already planning network upgrades, it usually makes more sense to install cabling that supports both camera security and broader connectivity needs.
Planning home security camera wiring before installation
The best installations start with the layout, not the hardware. Camera placement should be based on what you need to see, how the cable will get there, and where the recordings or network equipment will live.
Front doors, back doors, garage entries, driveway approaches, and side yard access points are common first priorities. From there, the cable path needs to be mapped in a way that protects the run, avoids visible clutter, and keeps access for future service. That means thinking through attic routes, crawlspace access, wall penetrations, outdoor transitions, and enclosure locations before the first hole is made.
This is also where many DIY installs go wrong. The camera location may look perfect from the sidewalk, but if the cable route is awkward, exposed, or too far from network equipment, the job gets messy quickly. A clean design balances field of view with practical cable routing.
Placement and cable path should work together
A good rule is simple: do not choose a camera location in isolation. Every placement decision affects the wire run, network load, and serviceability later.
For example, a camera mounted under an eave may stay more protected from weather and offer an easier hidden cable path than one mounted on an open exterior wall. A camera at the far corner of a detached structure may provide the widest view, but it can also create a much longer run that requires better planning for the network connection back to the main house.
What a professional home security camera wiring install solves
Professional installation is less about the act of pulling cable and more about making the whole system work together. That includes selecting the right cable category, planning routes that stay protected, testing every run, and making sure the cameras, switch, recorder, and network all operate as one dependable system.
It also helps prevent the common issues that create repeat service calls. Those include loose terminations, poor outdoor protection, cameras connected through overloaded consumer-grade gear, and systems installed without enough thought for future additions.
In homes with existing network challenges, camera installation can expose larger infrastructure problems. Weak Wi-Fi, outdated cabling, poor switch placement, and limited rack or cabinet space can all affect results. That is where a provider with both low-voltage cabling and network experience brings real value. If the camera system depends on the network, the network has to be part of the conversation.
Weather exposure, distance, and expansion all change the job
Not every home camera installation is straightforward. Coastal conditions, detached buildings, masonry surfaces, and long exterior runs all add complexity. So does the plan to grow the system later.
A two-camera install at the front and back door is different from a six-camera perimeter layout with remote viewing, local recording, and dedicated network hardware. Both can be done well, but they should not be designed the same way. Good wiring decisions take the property and the long-term use case into account from the start.
Mistakes to avoid with home security camera wiring
One of the most common mistakes is treating cameras like isolated devices instead of part of the network. That often leads to poor switch placement, overloaded connections, or cameras competing with everyday traffic in ways that affect performance.
Another mistake is underestimating the physical installation. Exposed cable, poorly sealed entry points, and rushed terminations can shorten the life of the system. Even when the cameras power up and appear to work, small installation shortcuts can turn into dropped feeds and maintenance issues later.
There is also the issue of scalability. Homeowners often start small, then decide they want driveway coverage, package monitoring, or detached structure visibility a few months later. If the original wiring was done with no room to grow, every addition becomes more expensive and disruptive than it needed to be.
When it makes sense to upgrade the network at the same time
If you are already opening paths for new cable, it is often smart to look at the broader network. A camera project can be the right time to improve wireless coverage, add better switching, clean up old cable runs, or install structured cabling that supports both security and day-to-day connectivity.
That matters even more for households with home offices, smart devices, streaming traffic, and outdoor coverage needs. Security cameras do not live in a vacuum. They share infrastructure with the rest of the property, and the overall experience improves when the underlying network is built to handle everything together.
For homeowners and property users in the Charleston area, that is often the difference between a system that simply turns on and a system that stays dependable through weather, network demand, and future growth.
If you are planning cameras, start with the wiring plan first. The cleanest installs, the strongest performance, and the fewest headaches usually come from getting the infrastructure right before the cameras ever go on the wall.