
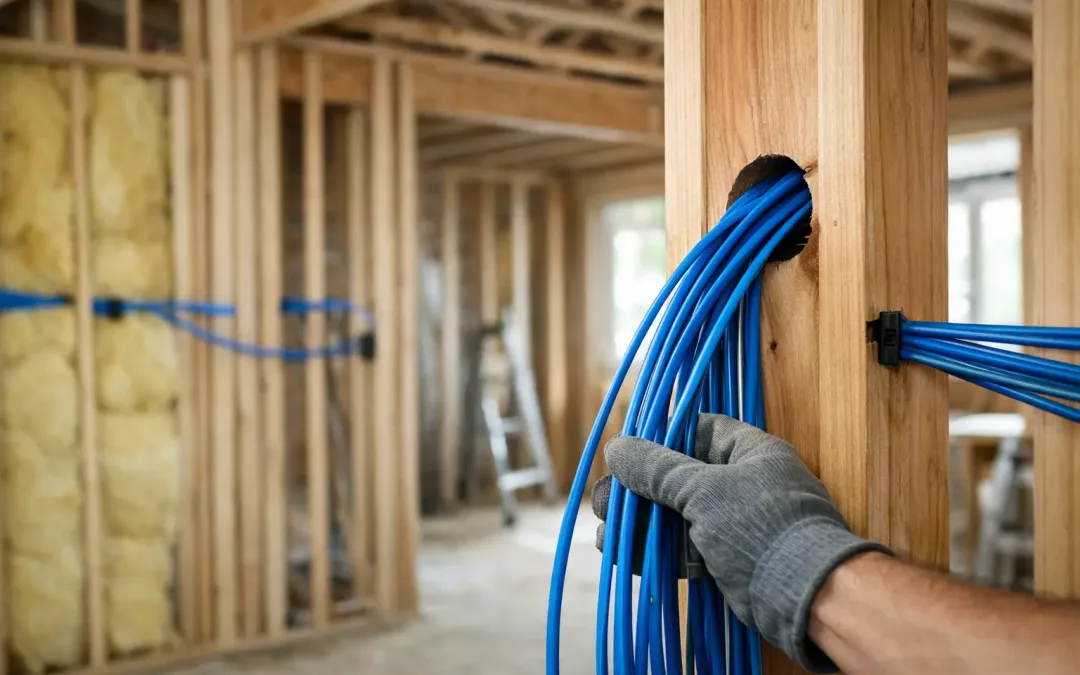
The Best Time to Run Cat6 Before Drywall and Insulation is after framing is complete and the cable pathways have been planned, but before insulation crews and drywall installers arrive. This rough-in window is when walls and ceilings are open, making it far easier to install, label, secure, and test network cabling correctly. Miss it, and a straightforward cabling project can turn into drywall cuts, patchwork, delays, and unnecessary cost.
For offices, retail spaces, new homes, additions, and major renovations, Cat6 should be treated as part of the building plan, not an afterthought once Wi-Fi complaints begin.
Run Cat6 After Framing, Before Insulation
The ideal sequence is simple: framing first, cabling rough-in next, insulation after the cabling inspection and any required corrections, then drywall. At this point, wall cavities, ceiling routes, and equipment locations are visible. A cabling contractor can route home runs back to the network rack, telecommunications closet, or designated low-voltage panel without guessing what is behind a finished surface.
This timing also allows the installation team to place cable supports, protect penetrations, maintain proper bend radius, and leave enough service loop at outlets and equipment locations. Those details affect long-term reliability. A cable that is pulled too tightly, sharply bent, or buried where it cannot be serviced may still appear to work on day one, but it can become a difficult intermittent issue later.
Drywall should not begin until the cabling plan is verified. Once wallboard goes up, moving a data jack, adding a ceiling access point, or correcting a missed run becomes more disruptive.
Plan the Network Before the Cat6 Rough-In
The best installation timing depends on having a complete plan before the crew starts pulling cable. For a business, that means identifying workstations, conference rooms, printers, point-of-sale areas, cameras, door access hardware, Wi-Fi access points, TVs, and network equipment. For a home, it may include office locations, media rooms, access points, camera locations, and smart-home hubs.
A common mistake is planning only for today’s desk layout. Offices change. Teams expand, furniture moves, and wireless coverage needs shift as walls, shelving, or inventory are added. Running extra Cat6 during open-wall construction costs far less than opening finished walls for a single new connection later.
A practical approach is to include spare runs to likely growth areas and conduit or pull strings where future changes are especially likely. This is valuable near conference rooms, reception areas, media locations, and ceiling-mounted Wi-Fi access points. The goal is not to overbuild blindly. It is to create a network that can adapt without creating downtime or construction headaches.
Coordinate With Other Trades Before Walls Close
The rough-in phase moves quickly, especially on commercial build-outs. Cat6 installation needs to be coordinated with framing changes, plumbing, HVAC, fire protection, insulation, and drywall schedules. If the network layout is not finalized, the cabling contractor may be forced to work around newly installed obstacles or return after the walls are closed.
Coordination matters most around network closets and equipment rooms. Confirm where the rack will sit, how cables will enter the space, where service providers will hand off connectivity, and whether there is adequate room for switches, firewall equipment, patch panels, and future expansion. A poorly planned closet can create a lasting maintenance problem even when the individual Cat6 runs are installed correctly.
For Charleston-area projects, moisture, attic heat, and building design can also affect pathway choices and equipment placement. A site walk before rough-in helps identify those conditions early rather than discovering them after finish work is complete.
Test and Document Before Drywall
Open walls are the right time to inspect the physical path, but final cable testing should happen after terminations are complete. Each run should be labeled at both ends, terminated to the appropriate jack or patch panel, and tested for performance. Documentation should show which outlet connects to each patch-panel port and identify the room or device location it serves.
That documentation saves time when an employee moves desks, a switch is replaced, or a technician needs to troubleshoot a connection. Without it, even a small network change can become a trial-and-error exercise.
Testing before final closeout is especially important for longer cable runs, ceiling-mounted access points, cameras, and locations that will be difficult to access after construction. Correcting a failed run while pathways remain visible is much easier than diagnosing it months later.
When the Timing May Differ
Some projects do not follow a clean construction sequence. In a finished office renovation, for example, Cat6 may need to be installed above accessible ceilings, through existing pathways, or during off-hours to limit disruption. In these cases, the best time is still before final finishes are installed, but the routing strategy will be more constrained.
If insulation has already been installed but drywall has not, act quickly. Installation may still be possible, but it can take more labor and may limit the ability to inspect and secure every pathway. If drywall is already up, a professional site assessment can determine whether existing conduits, ceiling spaces, or targeted access points can support the project with minimal repairs.
For new construction and major remodels, schedule the Cat6 rough-in as soon as framing and network locations are confirmed. All Wiring Needs can help turn that open-wall opportunity into a labeled, tested network foundation that is ready for current operations and easier to expand later.
#run Cat6 before drywall #Cat6 rough-in new construction #install Ethernet cable before walls close pre-drywall #network wiring
#Cat6 #Cat6Cabling #RunCat6BeforeDrywall #Cat6RoughIn #PreDrywallCabling #StructuredCabling #NetworkWiring #EthernetCabling #LowVoltageWiring #NewConstructionWiring #CommercialCabling #NetworkRoughIn #CableTesting #CharlestonBusiness #OfficeCabling